And lots of time to experiment with them, life is good.
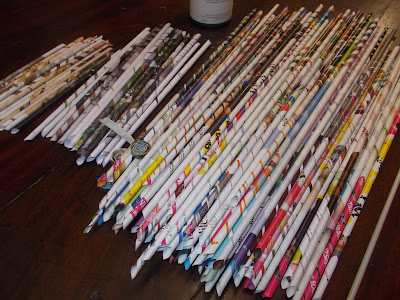 |
| Made lots of paper tubes |
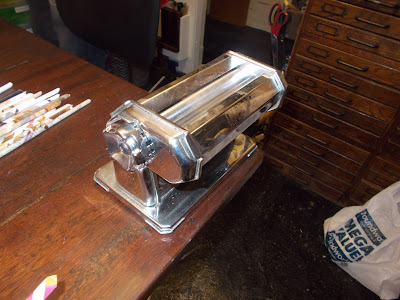 |
| Used my craft pasta machine to flatten them. Always have a separate machine for kitchen and studio. I use this one for clay mainly, when making piece for jewelry. |
 |
| It does a very good job. |
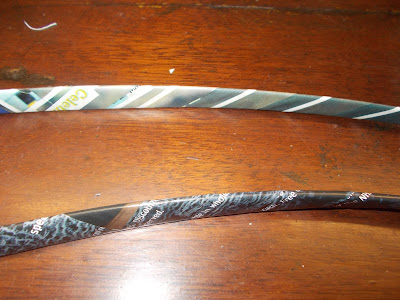 |
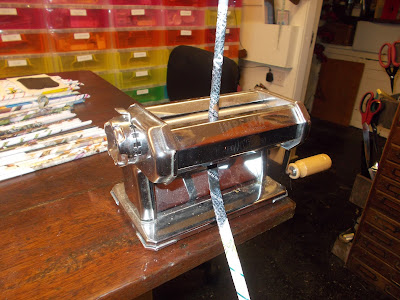
| And starts to bend them...., |
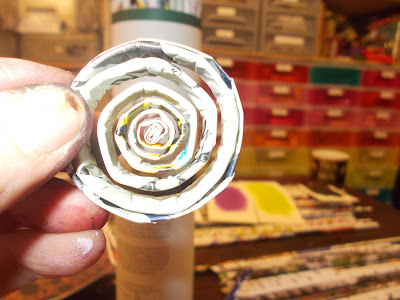 |
| ready for curling. |
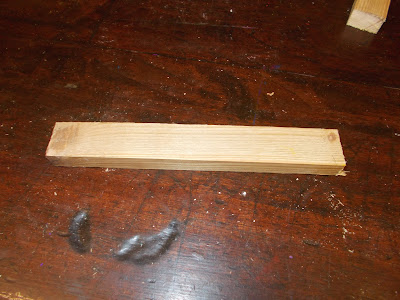
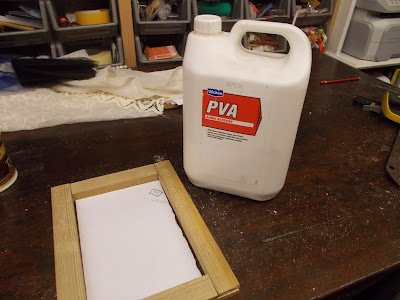
Now I need to make some paper and for that job need a Mold and Deckle. So I got some wood from Wicks and set about my task.
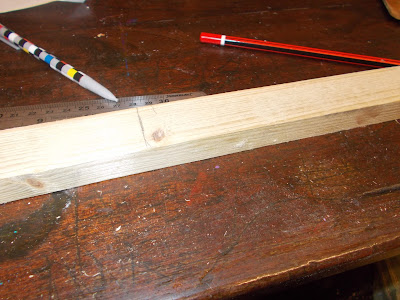 |
| Mark out the wood. I want a mold and deckle to form A5 sheets of paper. Therefore I need to measure the size of the paper and add two widths of the wood. I am being kind to myself and leaving a little lee-way too!. |
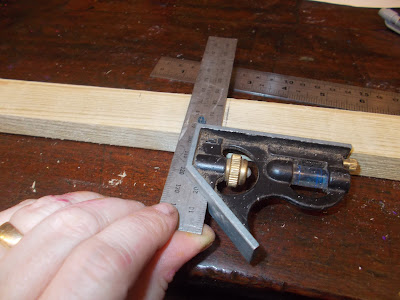 |
| Make sure marks are square. |
 |
| I am doing lap joints on these corners. |
 |
| More wood...., |
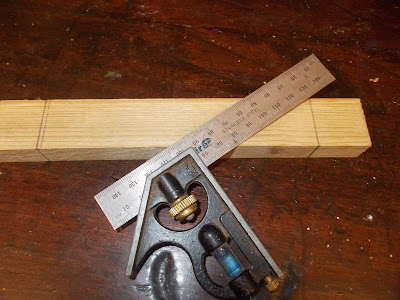 |
| More measuring! |
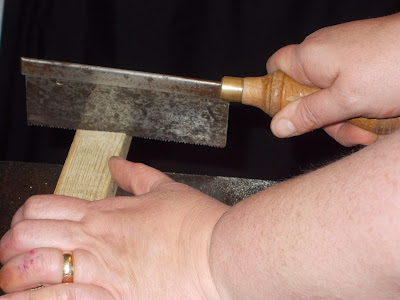 |
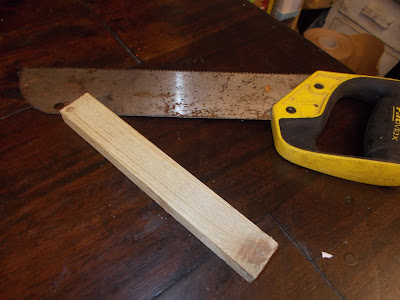
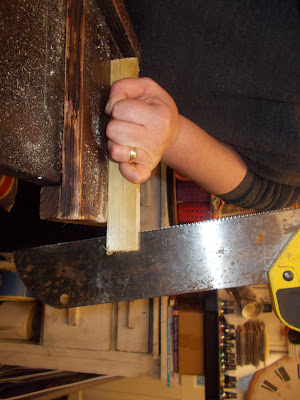
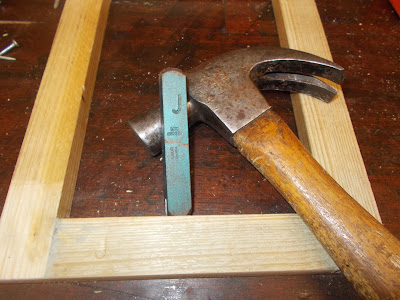
| Funny little saw Andrew likes....., but it is blunt! |
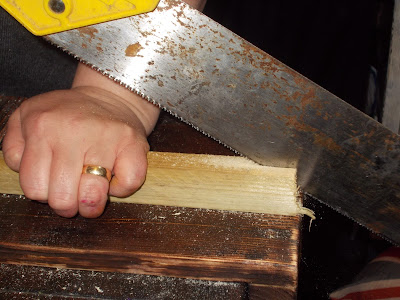 |
| Get the big chap in. |
 |
| Opps! |
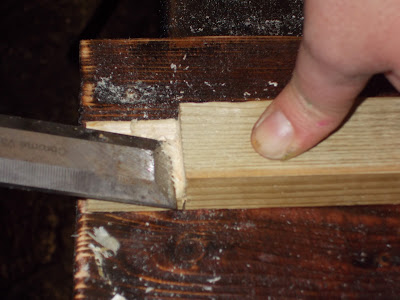 |
| Chisel out any rubbish. Only 16 of these to do! |
 |
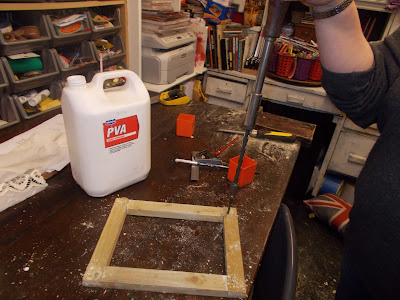
| Paper size fits well. Going to glue and screw the joints. |
 |
| ( Note to group members, See what a mess I make in the studio and you worry about coffee cups and bits of paper!!!!) |
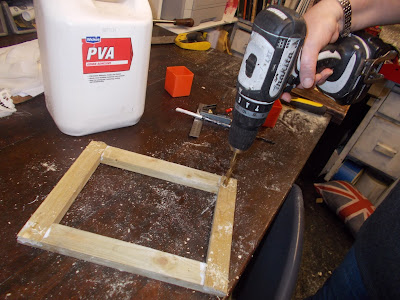 |
| Countersink the holes, these two frames need to sit flush together. |
 |
| Ratchet screw driver, love them. |
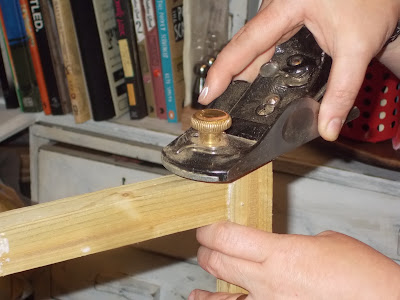 |
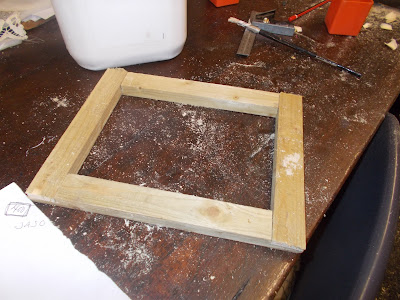
| Plain the edges and generally tidy the frames up. |
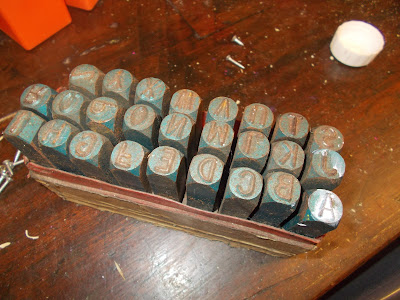 |
| Metal letter punches. |
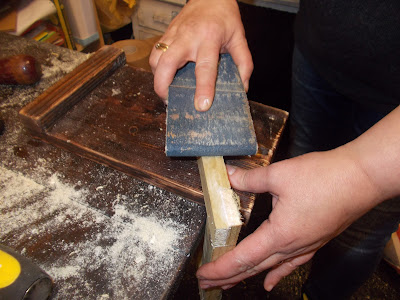 |
| Sanding the edges, this is sand paper secured around a piece of wood. |
 |
| Add my name to each frame. |
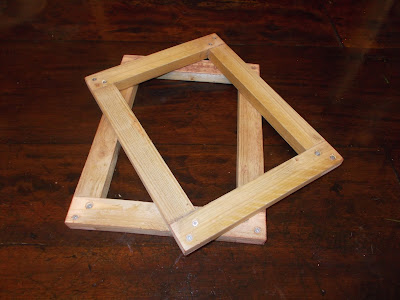 |
| Good job. |
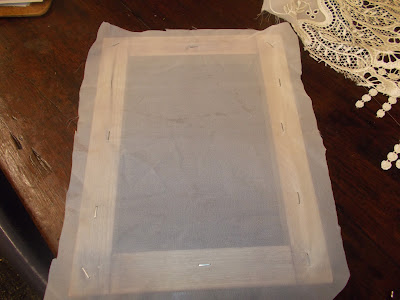 |
| Staple fine net to one frame, this now becoming the deckle. |
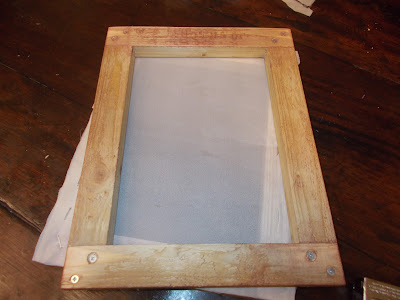 |
| Done, pleased with these, I only need another six pairs....., I think I will wait for Andrew to bring the chop saw! |
Now more paper play, Paper Mache.
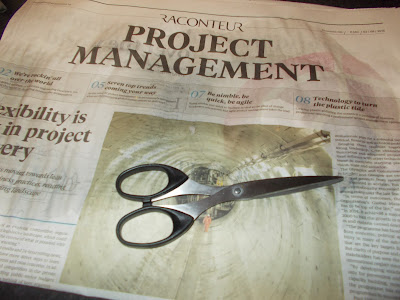 |
| News print. |
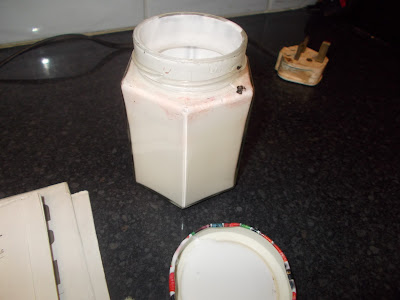 |
| P.V.A glue and water 50/50. |
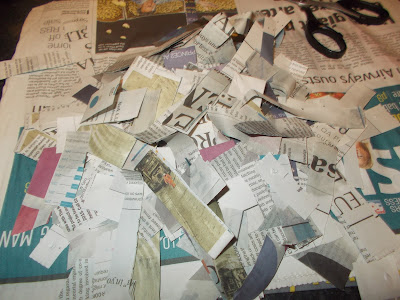 |
| Chop up the paper. |
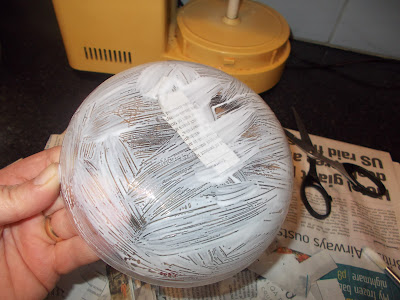 |
| And cover a bowl. |
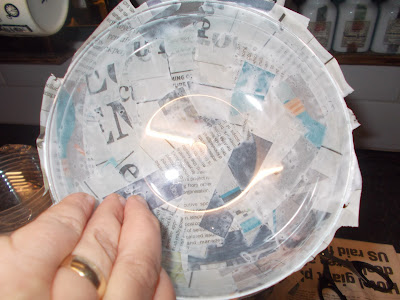 |
| Allow to dry. |
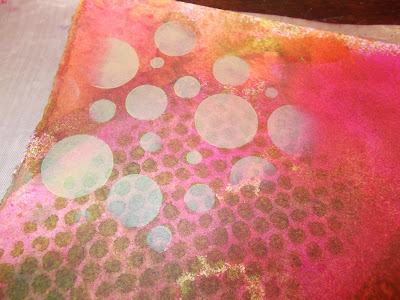
OK so now as I seem to be obsessing with circles and spirals, I want to paint/print some.
 |
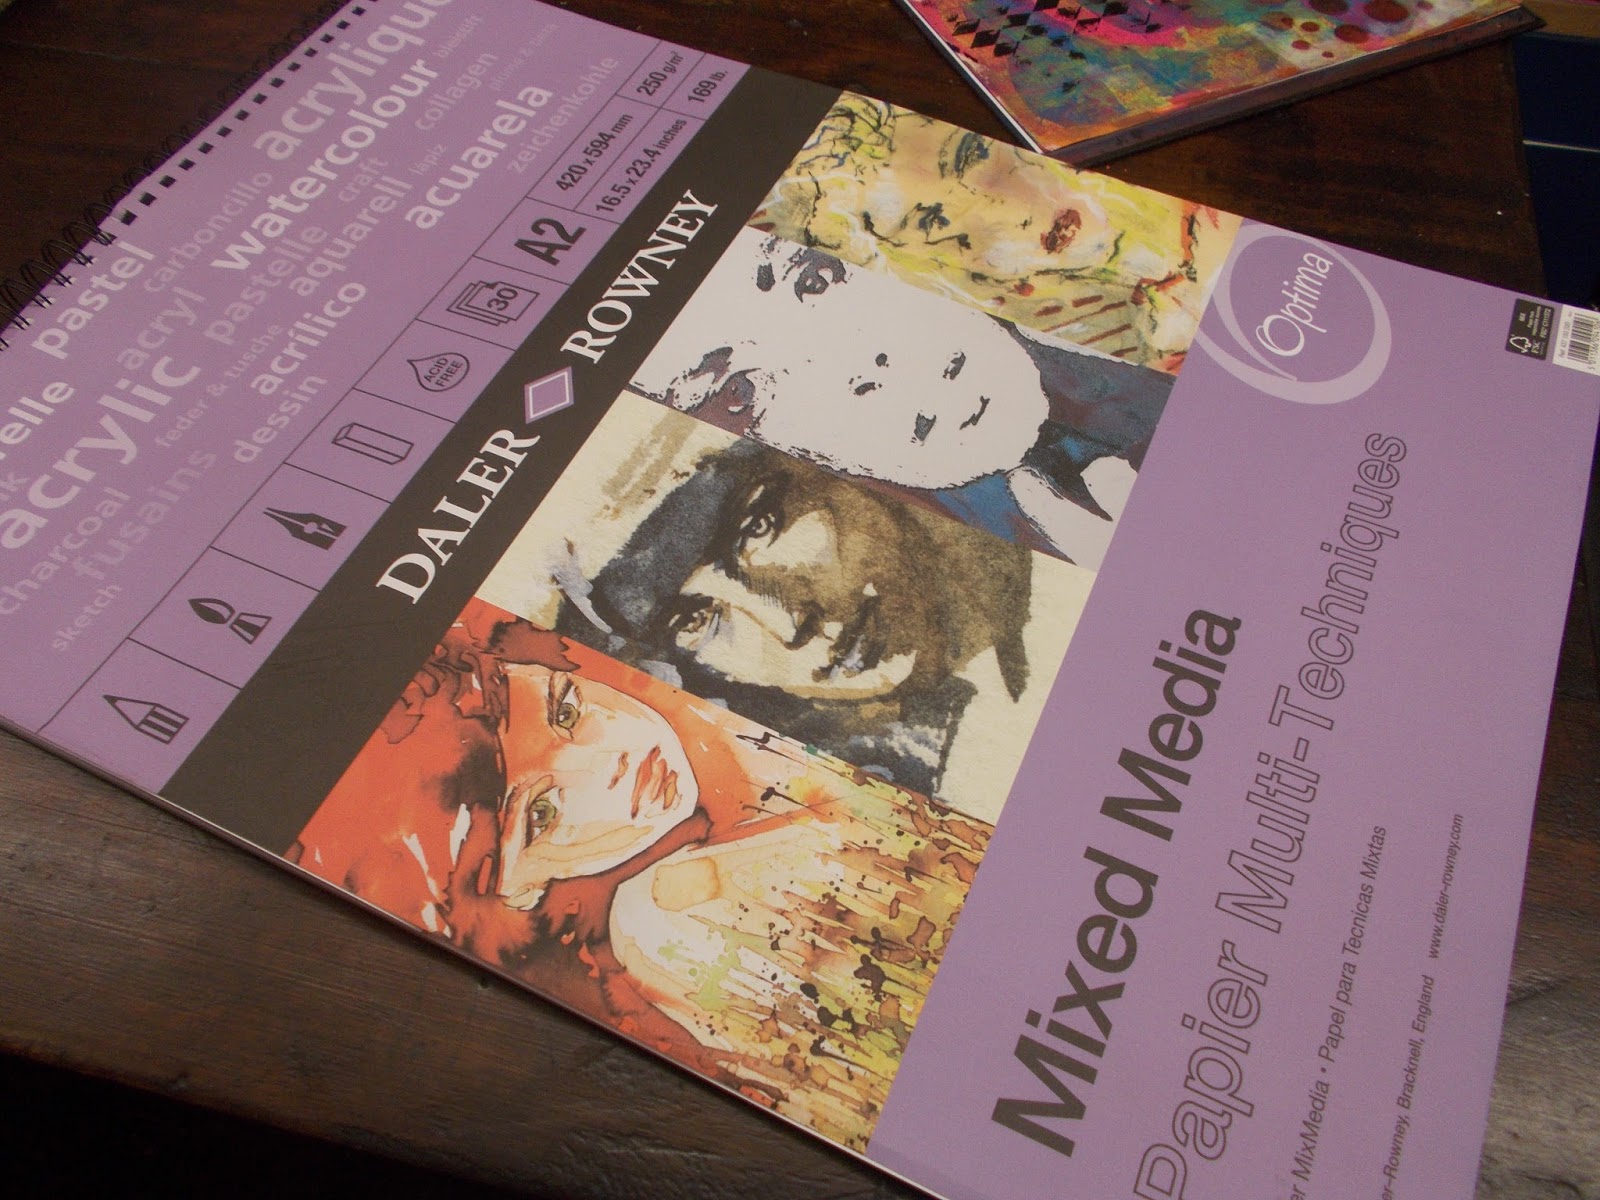
| Mixed media paper, 250 gsm. |
 |
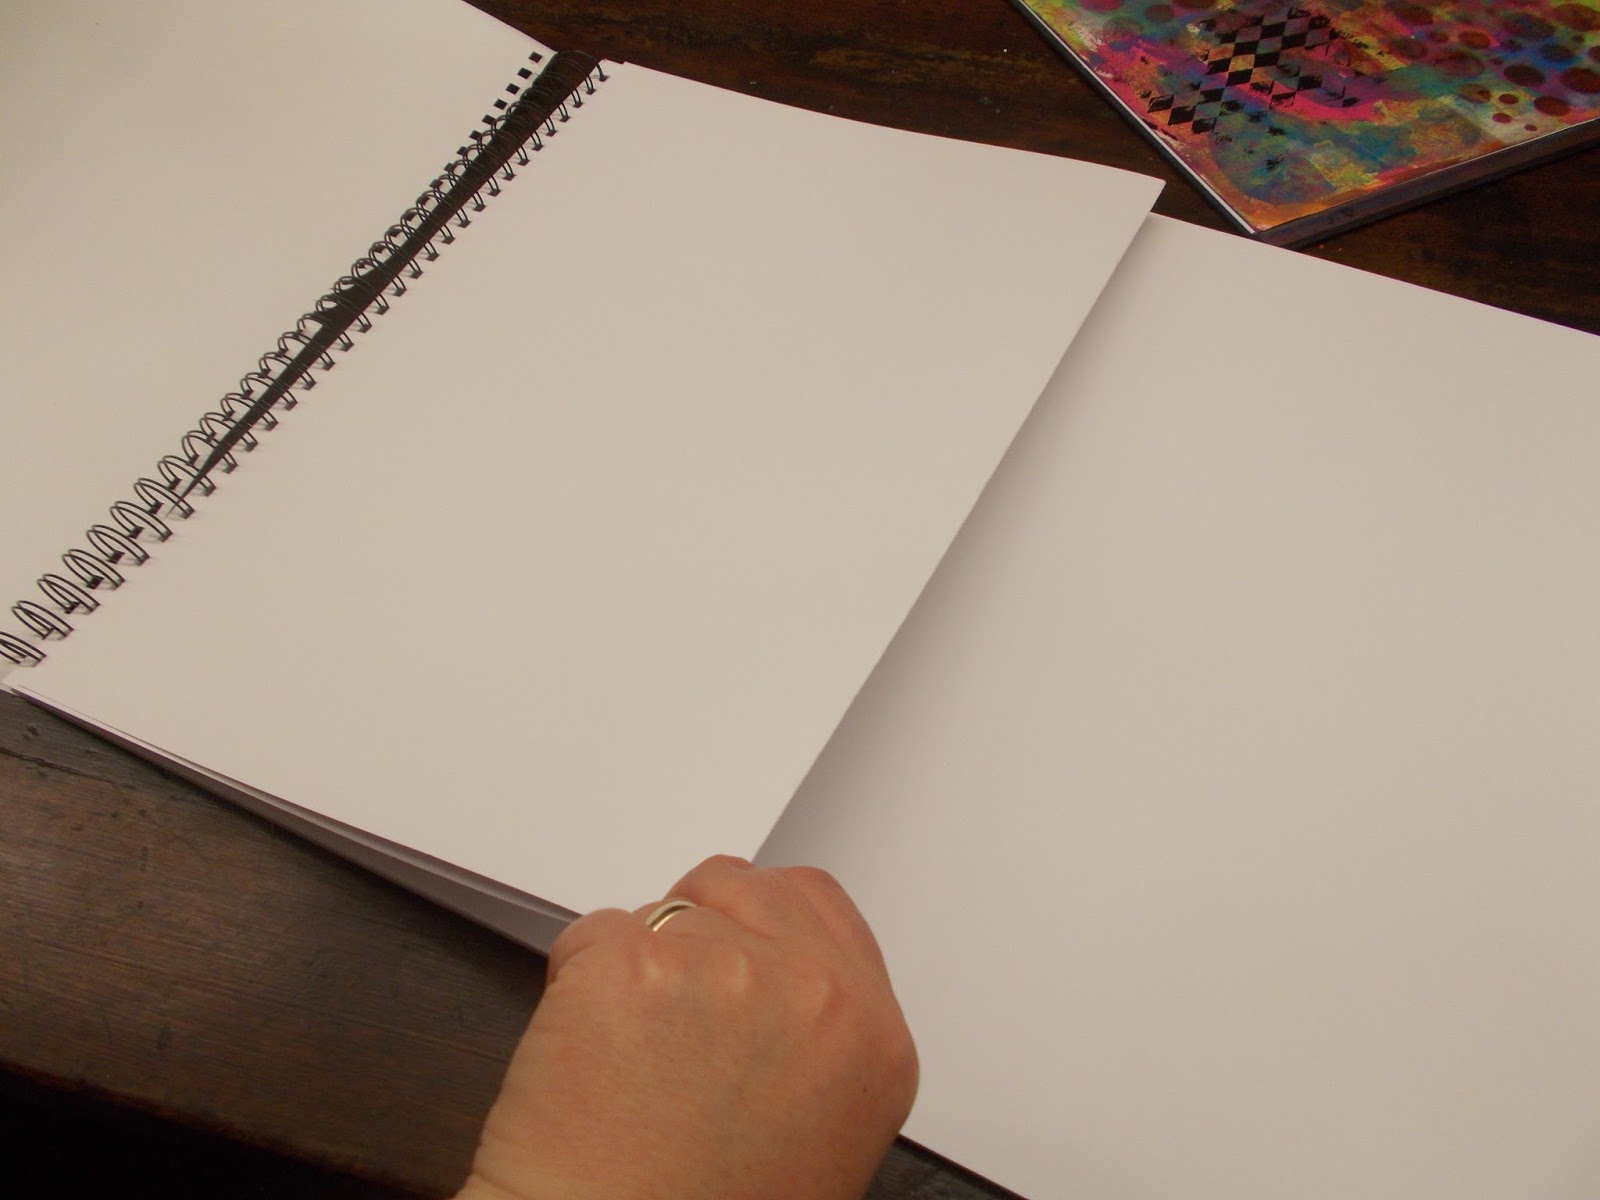
| It is A2 and I require A3...., cut it in half! |
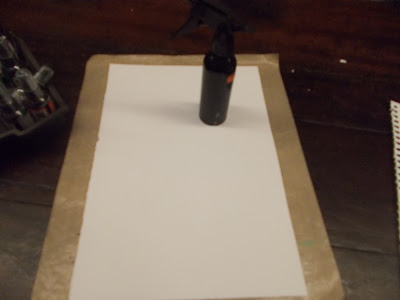 |
| Sprits with water |
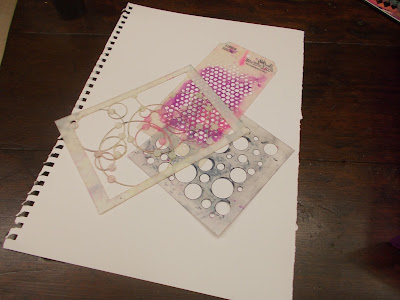 |
| Circle stencils. |
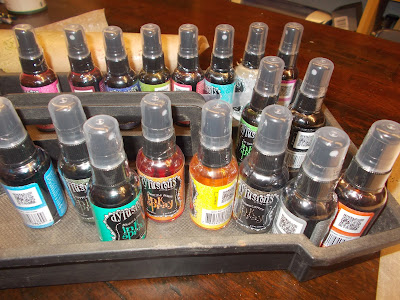 |
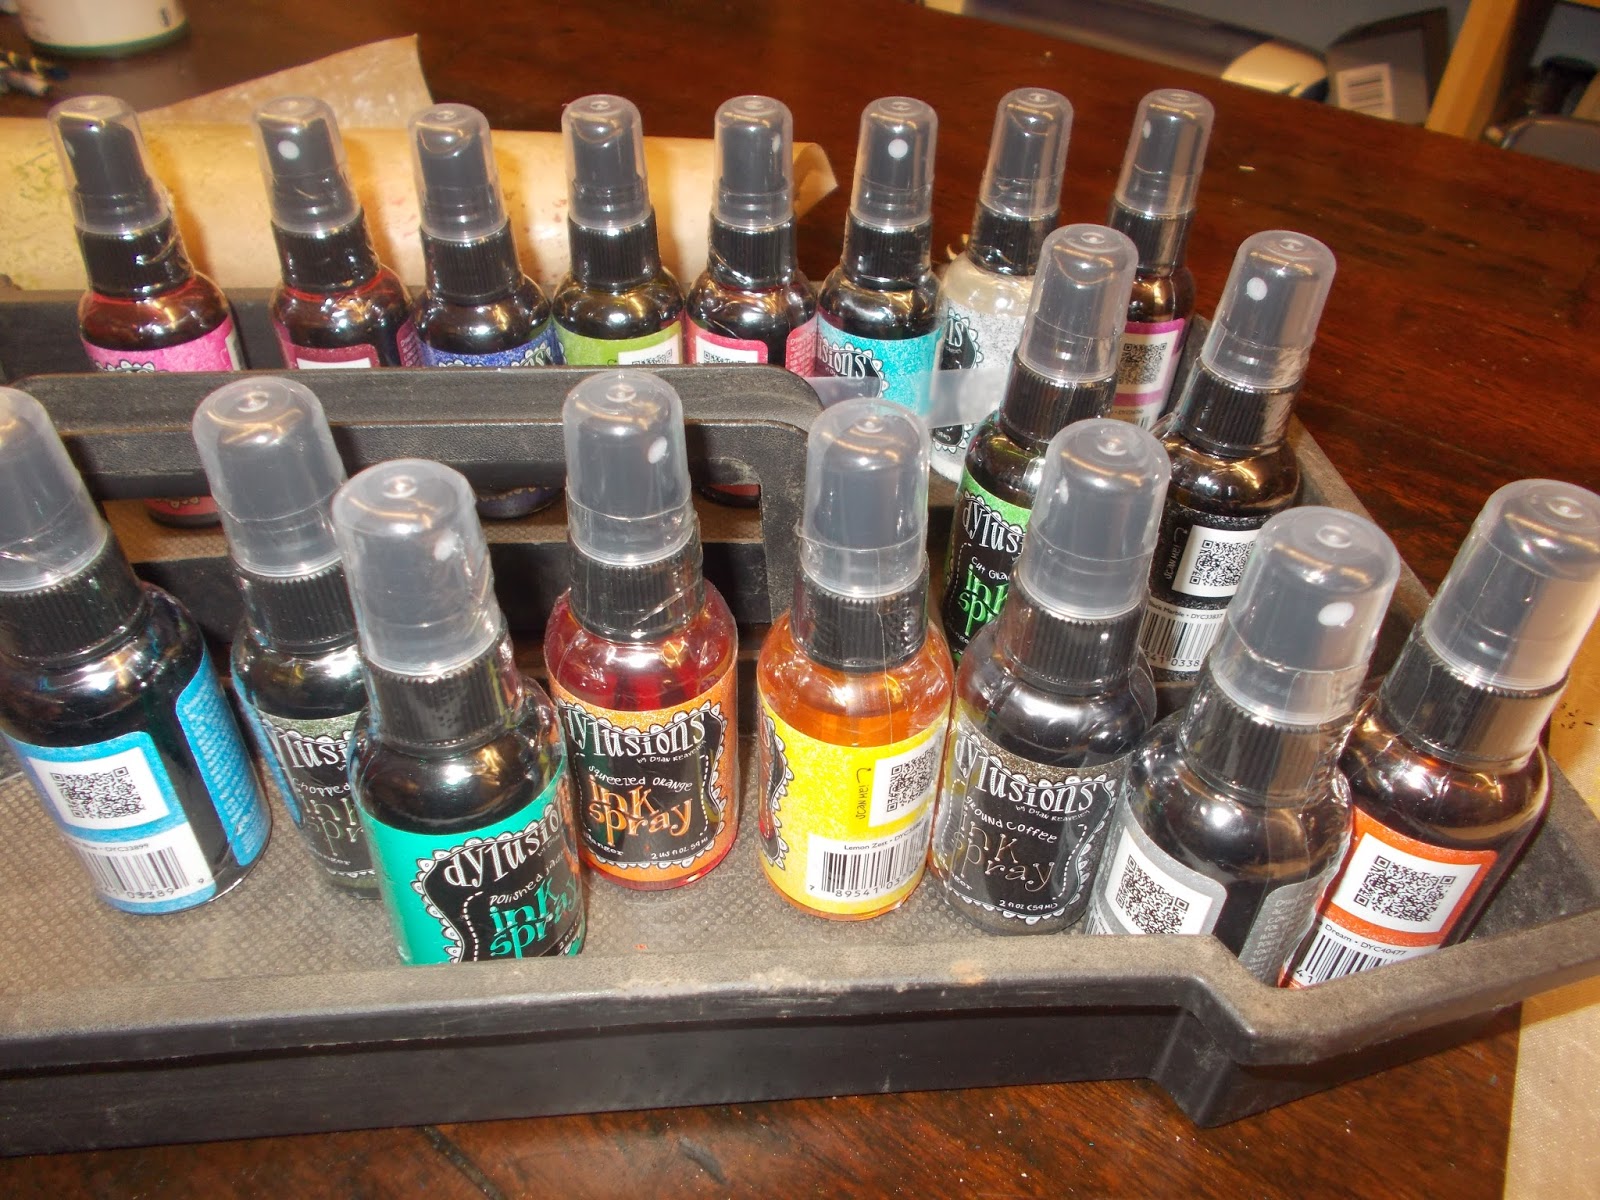
| Dylusions ink. |
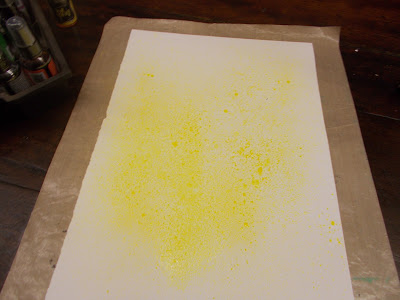 |
| Play! Sorry lost some of the pictures here! Just keep adding colours and drying, until you ave a nice back ground. |
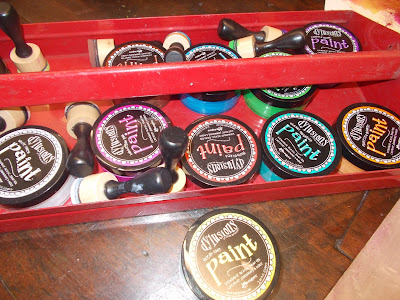 |
| Dylusions paint. |
 |
| Place a small amount of paint on the mat and load your dabber. |
 |
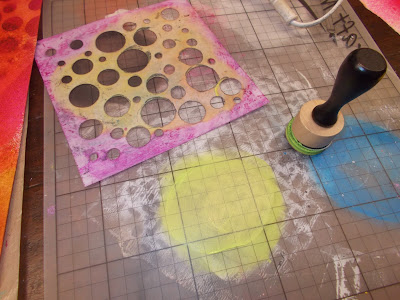
| Now push paint throw stencil, you need a tiny amount of paint. |
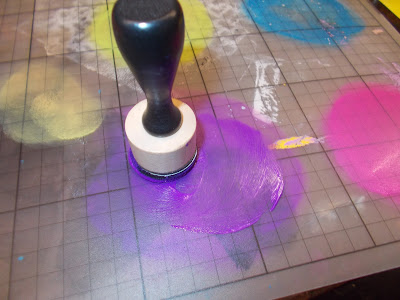 |
| Do the same thing with different colours. |
 |
| Print with bubble wrap to add texture. |
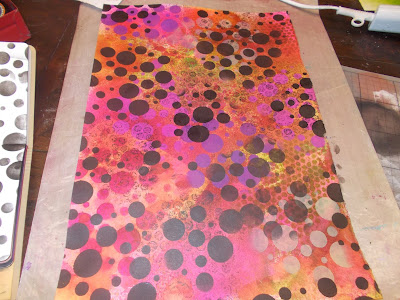 |
| Once I have finished with the colour, I like to add black , for contrast and impact. |
 |
| Good paint is expensive, so I do not like to waste it. Therefore any left on the dabber gets but into my journals for background building. |
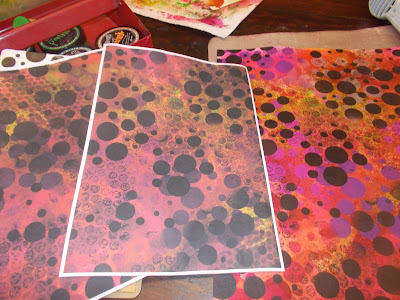 |
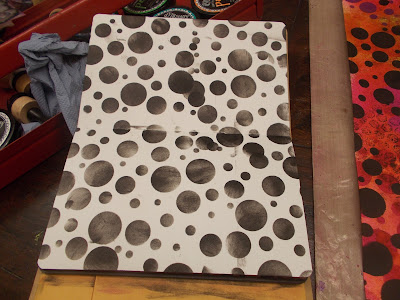
| When the paper is close to where you want it, I always recommended you photocopy it. It is your work, you may as well have multiple copies for other projects. The colour reproduction is never as good with an A4 print, I prefer my A3 printer, but forgot to go get some more ink!!!!!! |
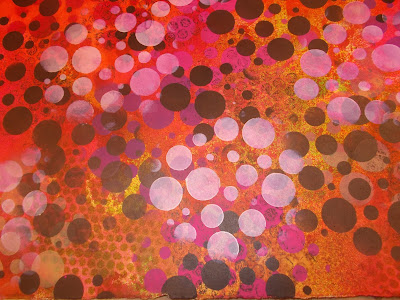 |
| Added some white dots too. Now I am happy with this I shall have it turned into Fabric. |


No comments:
Post a Comment