 |
| Tools. |
 |
| Leather, this is an old coat, bought from a charity shop. I was going to use the satchel, but it was too stiff, even after paring it down....., I didn't like it. |

 |
| Practice punch, to see how the leather copes with the hole punch. |
 |
| Mark out a piece . |
 |
| Cotton fabric. |
 |
| Liquitex Gell Medium. in this context, glue. |

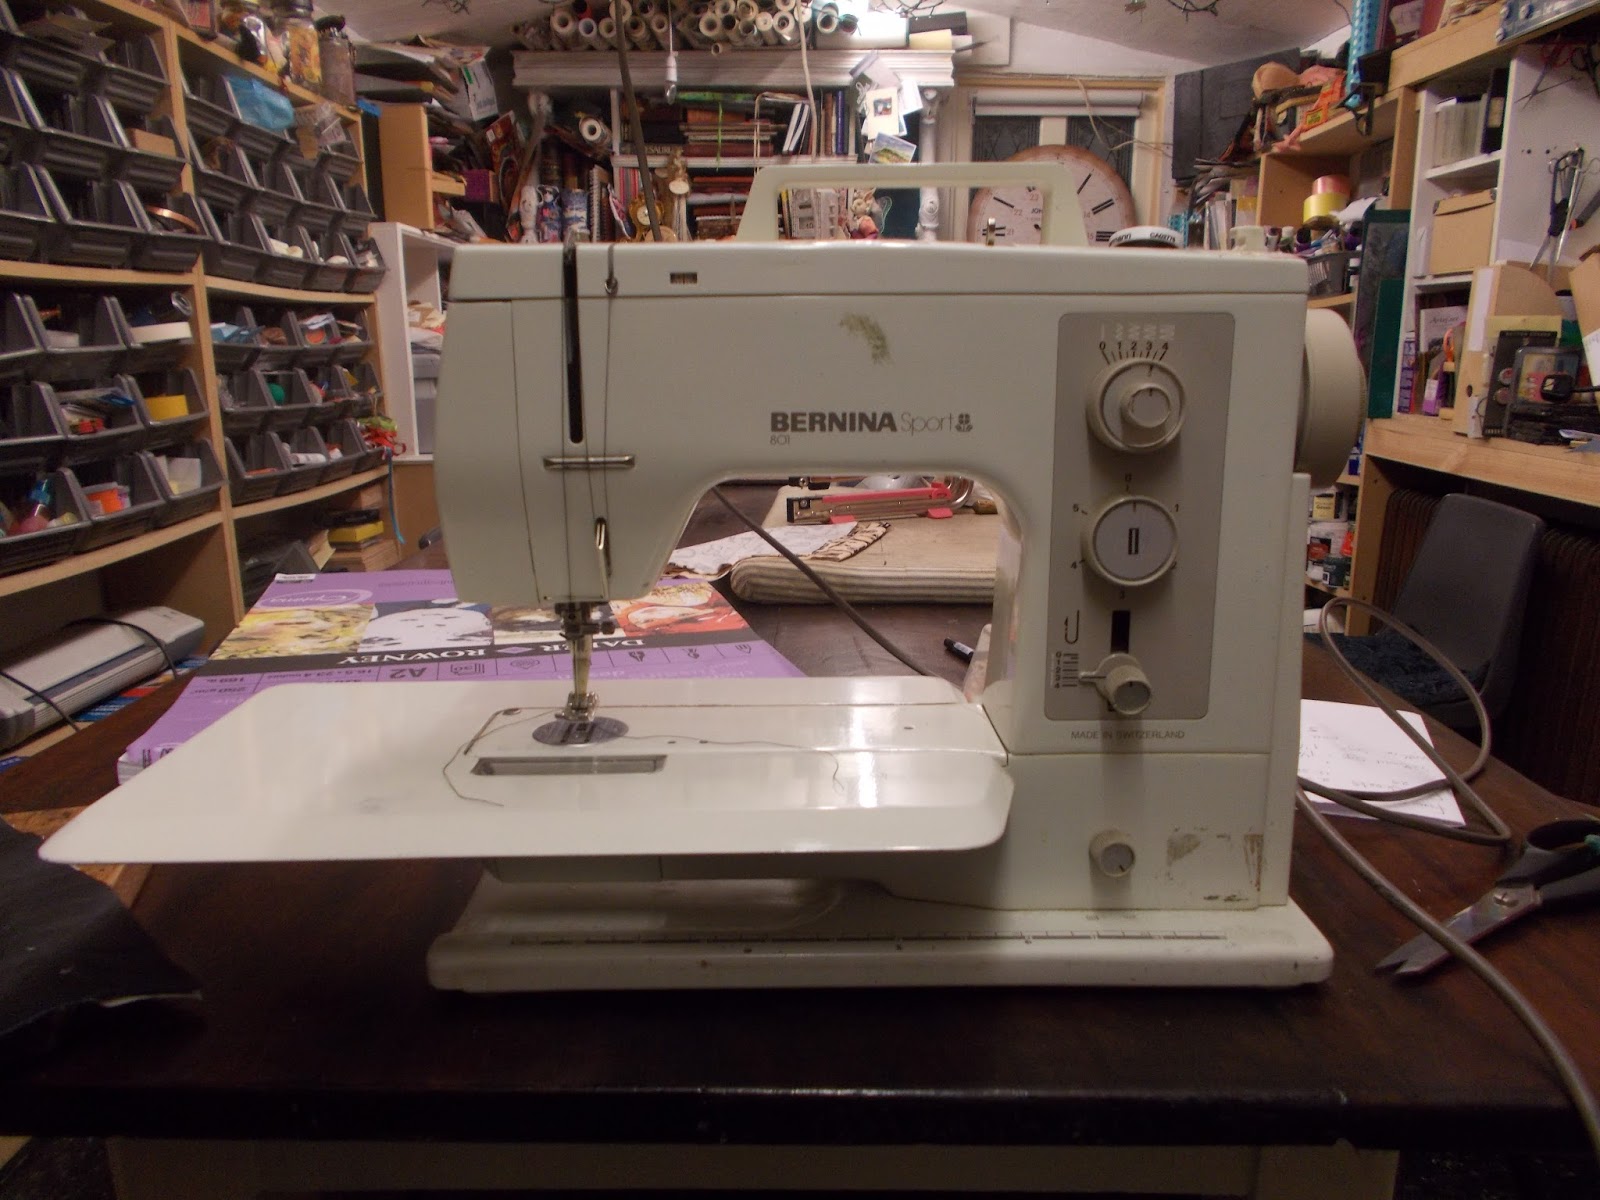 |
| Bernina sport 801, 1985 model. One of my favorite sewing machines. |
 |
| Just adding a line of stitch around the edge. Mainly for decoration. |
 |
| Trim off excess leather with a SHARP scalpel. |

 |
| Black the edges of the leather with ink, picky, picky, picky, I know! |
 |
| It gets worse, black the holes with a cotton bud and ink. |
 |
| Thread |

 |
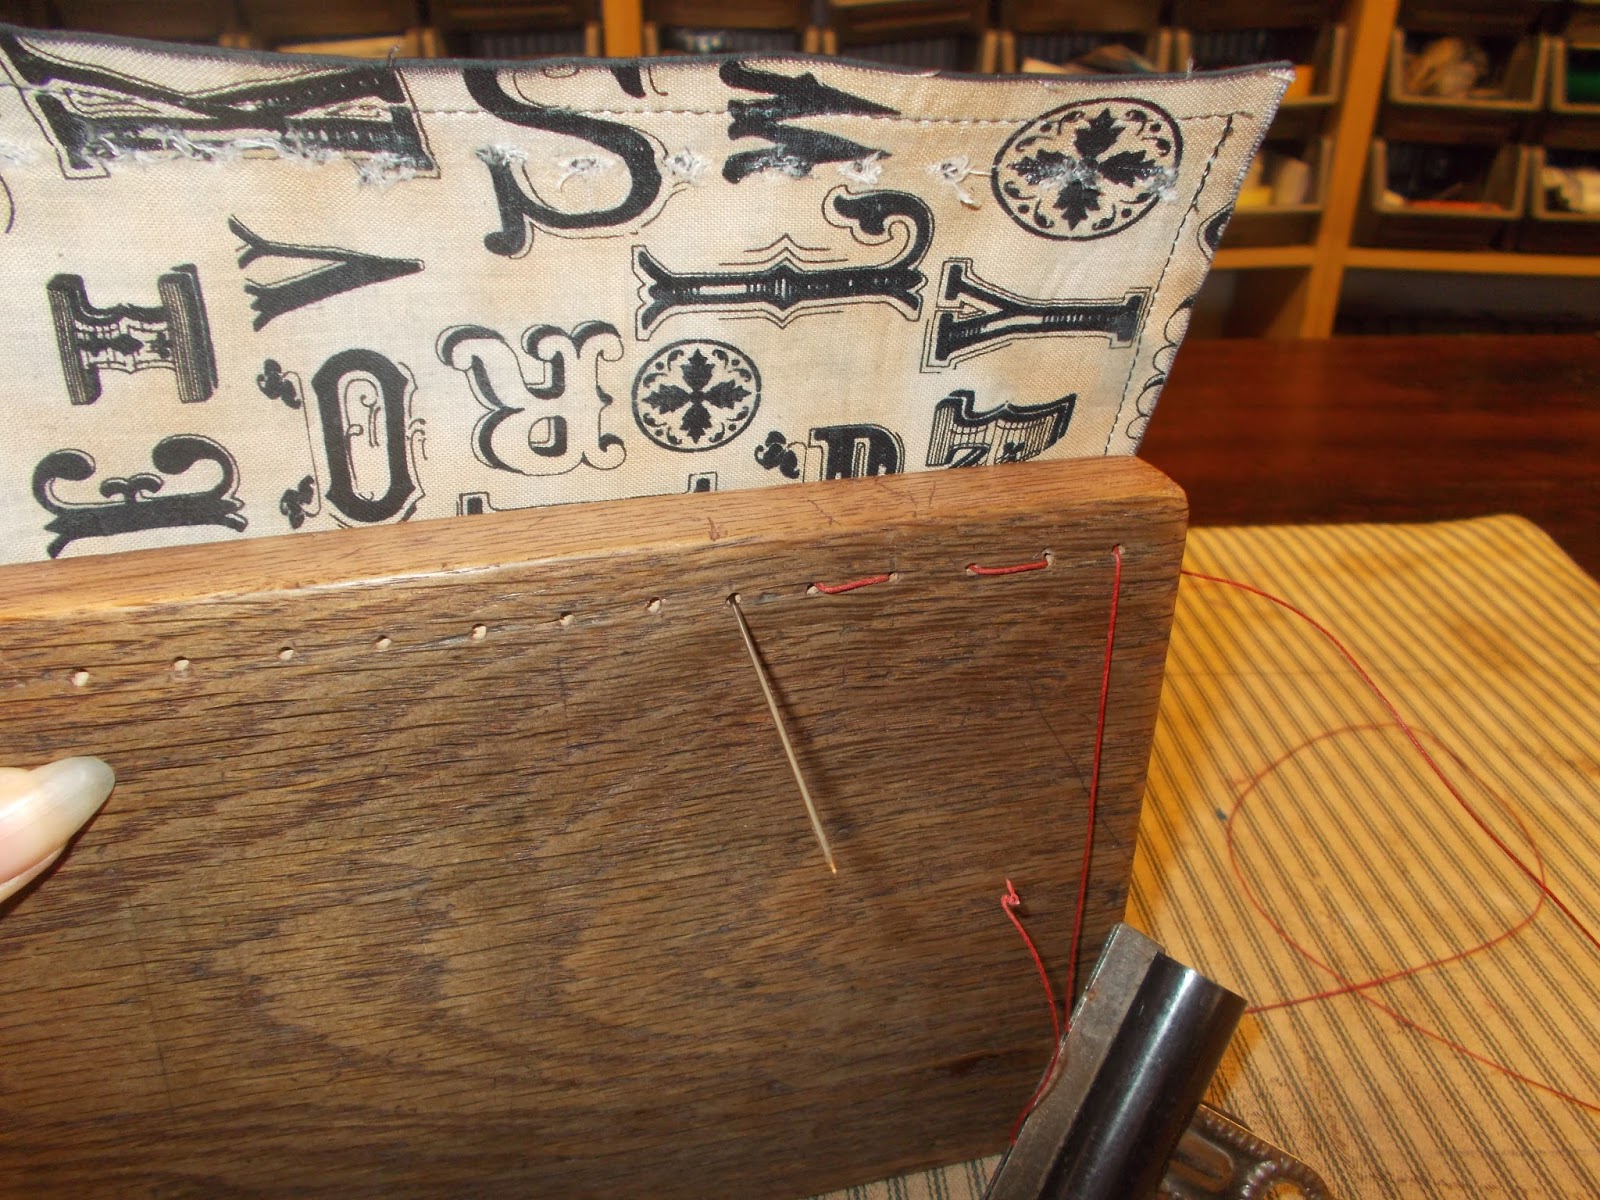
| To attach the spine to the covers I am using saddle stitch. |


 |
| Burn edges of thread. |
 |
| I did all this with the red thread, and I didn't like it, so I took it out and started again with black. |
 |
| Paper for the signatures, 300 gsm |


 |
| A stitch cradle, enables you to get the stitches in the same place in each signature. To add the five signature to this book I will be using Pamphlet stitch. |
 |
| Very useful, but remember NOT to stitch it into your signature!!! |
 |
| Not easy, but keep going! |


 |
| I always use a bull dog clip to hold onto the loose thread. |

 |
| Keeping the threads long until I have decided what I wish to do with them. |
 |
| Hand tiring the edges of the pages, because I like the difference between the smooth edges of the wood and the rough edges of the paper. ( and I refuse to use the word juxtaposition ) |
 |
| I have not made up my mind what to do with the threads yet. |


 |
| Got lots of these strips of paper left, and I do not want to waste them. |
 |
| Cat litter tray, not used by a cat. ( The bottle tops/ ring pulls are for another project ) |
 |
| And tea. |
 |
| If you wish to see what I am going to do with these, head on over to Jobloggs, as this isn't degree stuff. |
No comments:
Post a Comment